Accounts
The PureLife Cloud has two different kinds of accounts:
- User. This is a real person with contact information who can receive messages by our cloud.
- Bots. This is another server or application and used for machine-to-machine (M2M) communication.
User
To manage users you need to have the permission Manage users.
Add user
1. Open the user overview in the navigation tab.

2. Click on the icon at the right side to open the user menu.
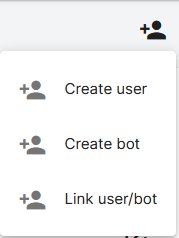
3. Click on Create user.
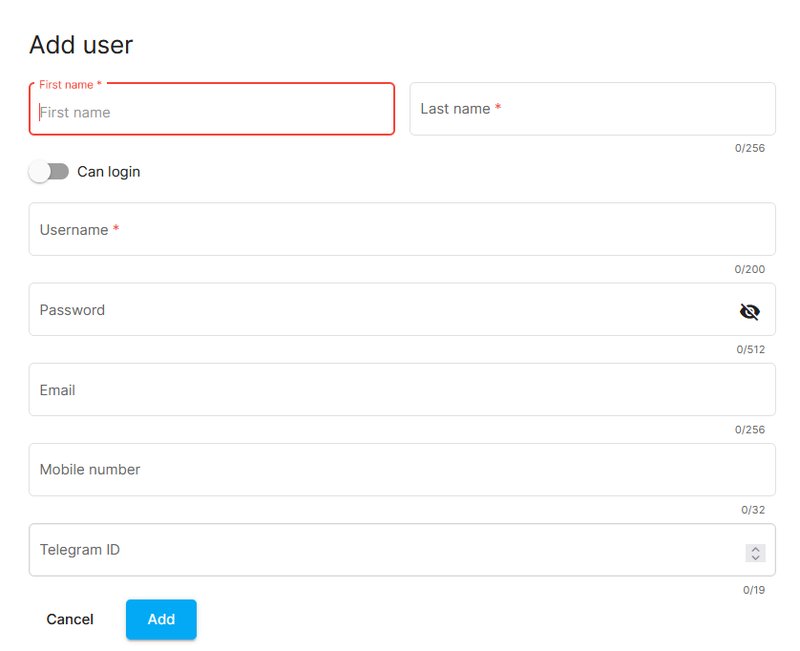
4. Fill out the form with the information and click Add.
Login expiration date
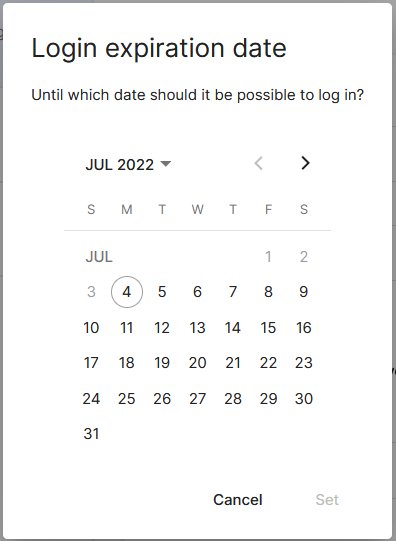
In some cases it is necessary that a user is only able to log in for a certain time to have access to the dashboard. It is possible to configure an expiration date until the log in is possible.
1. Open the user overview in the navigation tab.

2. Click on the icon at the right side behind a user to open the user properties.

3. Enable the option Can login to allow the log in

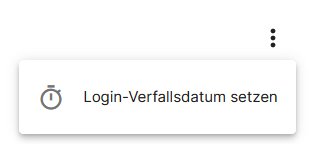
4. With a click on the three dots Set login expiration date you can configure the expiration date
5. Choose a date in the future until the login should be possiblem and click on Set. The expiration date become effective at 00:01 am.
Add avatar
After you add a user you can upload an avatar to his/her profile to identify the person by a small picture.
1. Open the user overview in the navigation tab

2. Click on the icon at the right side behind a user to open the user properties

3. Select a avatur and choose a proper picture. Valid size of the picture is: 6048 x 4032 pixel (24 mega pixel) with maximum 36 mega byte.
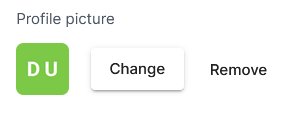
4. The avatar is active direct after upload.
Change permissions
Permissions can only be managed with the access right Manage users.
In an environment with several users and different tasks it could be necessary to grant some permissions to some users to fullfil their tasks.
1. Open the user overview in the navigation tab.

2. Click on the icon at the right side behind a user to open the user properties.

3. Select the tab Permissions to see the permissions.
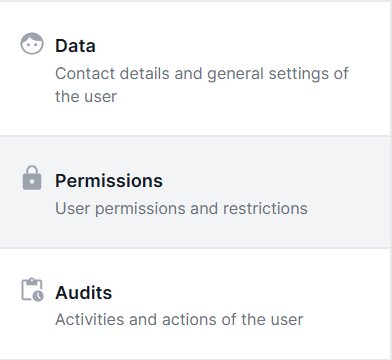
4. Change and edit the permissions respective your needs and the users tasks and responsibility.
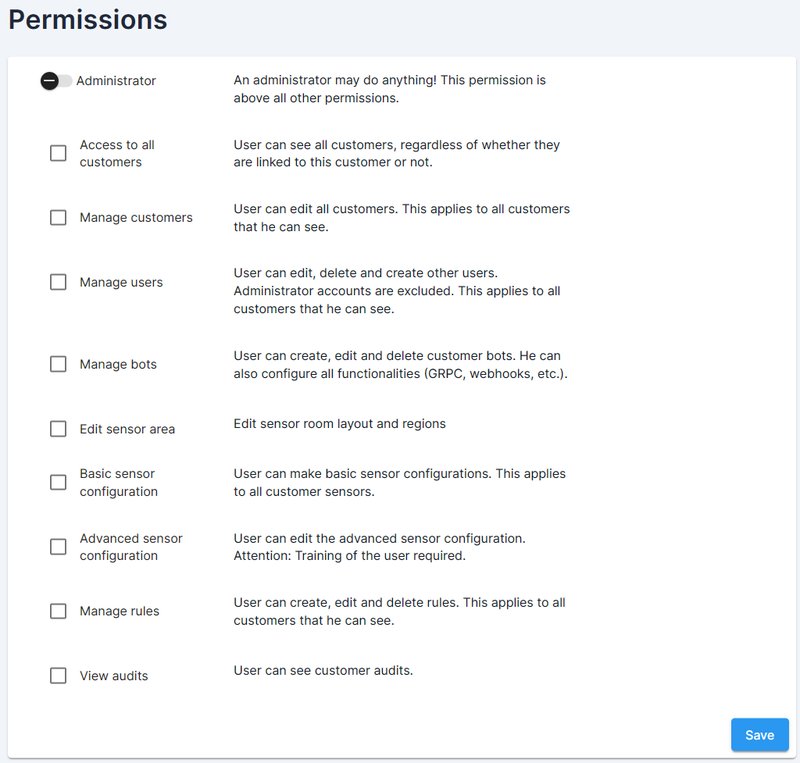
5. Click on Save so save the changes.
Bots
To manage bots you need to have the permissions Manage bots.
Add bots
- Open the user overview in the navigation tab.

2. Click on the icon at the right side to open the user menu.

3. Click on Create bot.
4. Fill out the form with the information and click Hinzufügen.

Add webhooks
This section describes how to add a webhook to the cloud. If you are a developer and want to receive information by a webhook you should take a look to our Integration document.
The PureLife Cloud supports webhooks for an easy and fast integration of external applications. You can use webhooks for bots or for complete customers. A webhook for bots is used within the rules to receive events and notifications by the webhook. This is our recommendation if a pre-filtering and analyze of the events should take place by our cloud.
1. Open the user overview in the navigation tab.

2. Select the bot you want to add a webhook to.
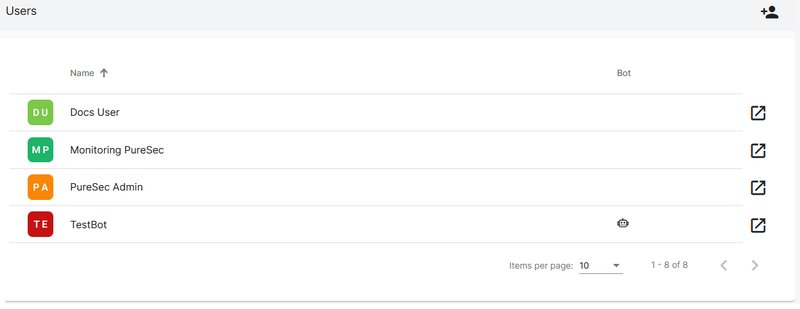
3. Change to the tab Webhooks.
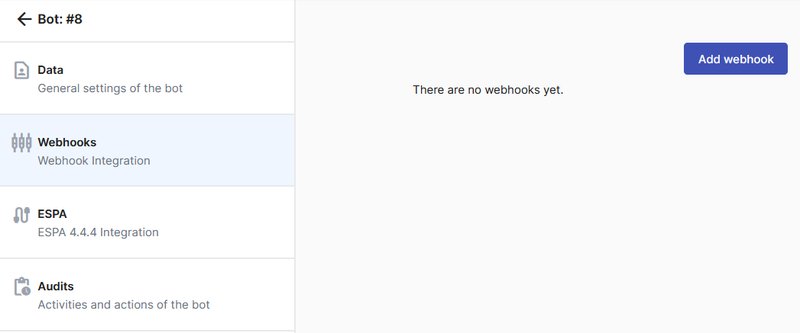
4. Click on Add webhook to add a webhook.
5. Fill out the form.
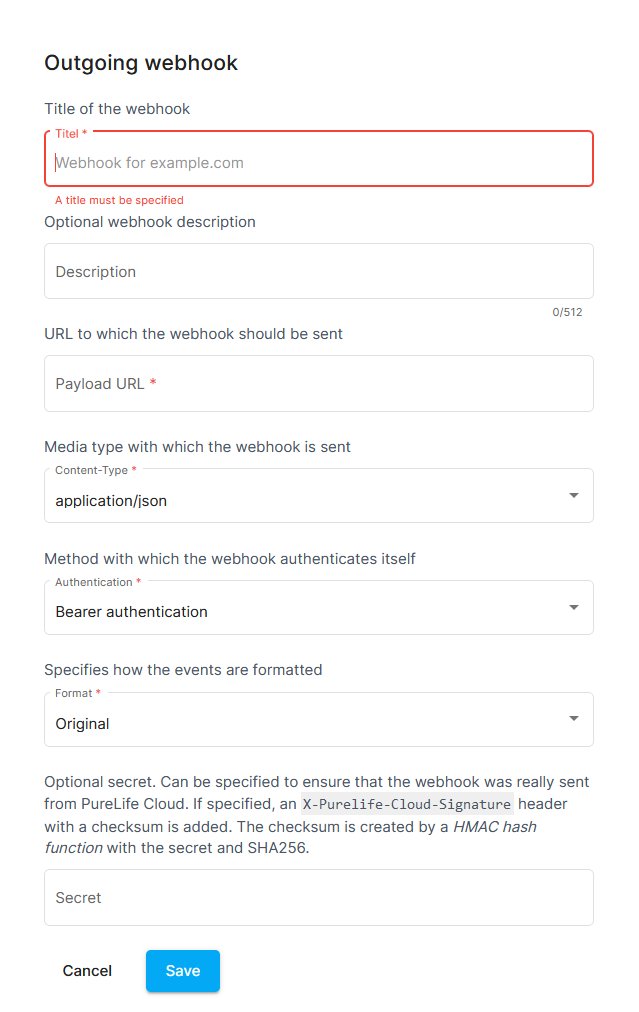
- In the field
Payload-URLenter the url to which the http request should be send to. - Choose one of the
Content-Typ, to define the format of the request body of the event. Available are:application/jsonapplication/xmlapplication/x-yamlapplication/tomlapplication/x-www-form-urlencoded
- Select the authentication in the field
Authentisierung. Available are:Bearer-AuthentisierungX-Api-Key (IETF RFC)X-API-KEY (Case Sensitive)HTTP/Basic
- Choose one of the
Formatto define the layout the events are send. Available are:PureSecCustom 1Sensor raw data
- Enter a
Secretto prove the authenticity of this webhook.
6. Click on Save to save the settings.
After that the bot can be used within the rules to send events to your webhook integration.
7. Access the Webhook Log
To view the webhook's delivery log, click on the webhook name in the overview. Further details can be accessed by clicking on the POST entry in the following overview.
Add ESPA
This section describes how to configure the ESPA settings to the cloud. The server-side connection to a ESPA system has to be configured on system level. Please get in touch with PureSec to talk about the details.
The PureLife Cloud supports ESPA IP for external alerting to a ESPA System. THe ESPA settings can only by configured once per bot. Bots with ESPA settings can be used within the rules to get informed about them over the ESPA interface.
1. Open the user overview in the navigation tab.

2. Select the bot you want to add the ESPA settings to.

3. Change to the tab ESPA.
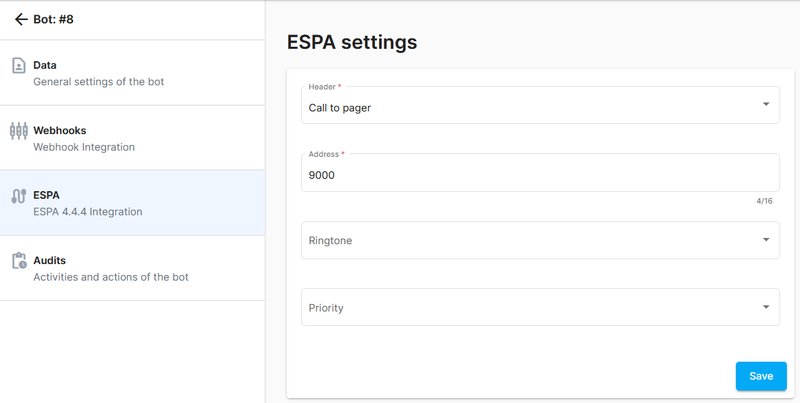
4. Fill out the form with the corresponding settings to your ESPA system.

- Enter the identifier of the content of the message in the field
Header. Availble are:Call to pagerStatus informationStatus RequestCall to subscriber lineSonstige Informationen
- Enter the address
Adresseof the pager-(group-)address of phone number, max. 16 characters. - Select the ringtone
Klingelton. Available values are:keiner0 - reserviert1 bis 9 - systemabhängig
- Select the priority
Prioritätthe events are send. Available are:keineReserviertAlarm (Notfall)HochNormal
5. Click on Speichern to save the settings.
After that the bot can be used within the rules to send events to your ESPA system.